
Categories
Categories group your spending so your dashboard and insights are meaningful. Tapsayve categorizes automatically, and you can always adjust or add your own.
How categories work
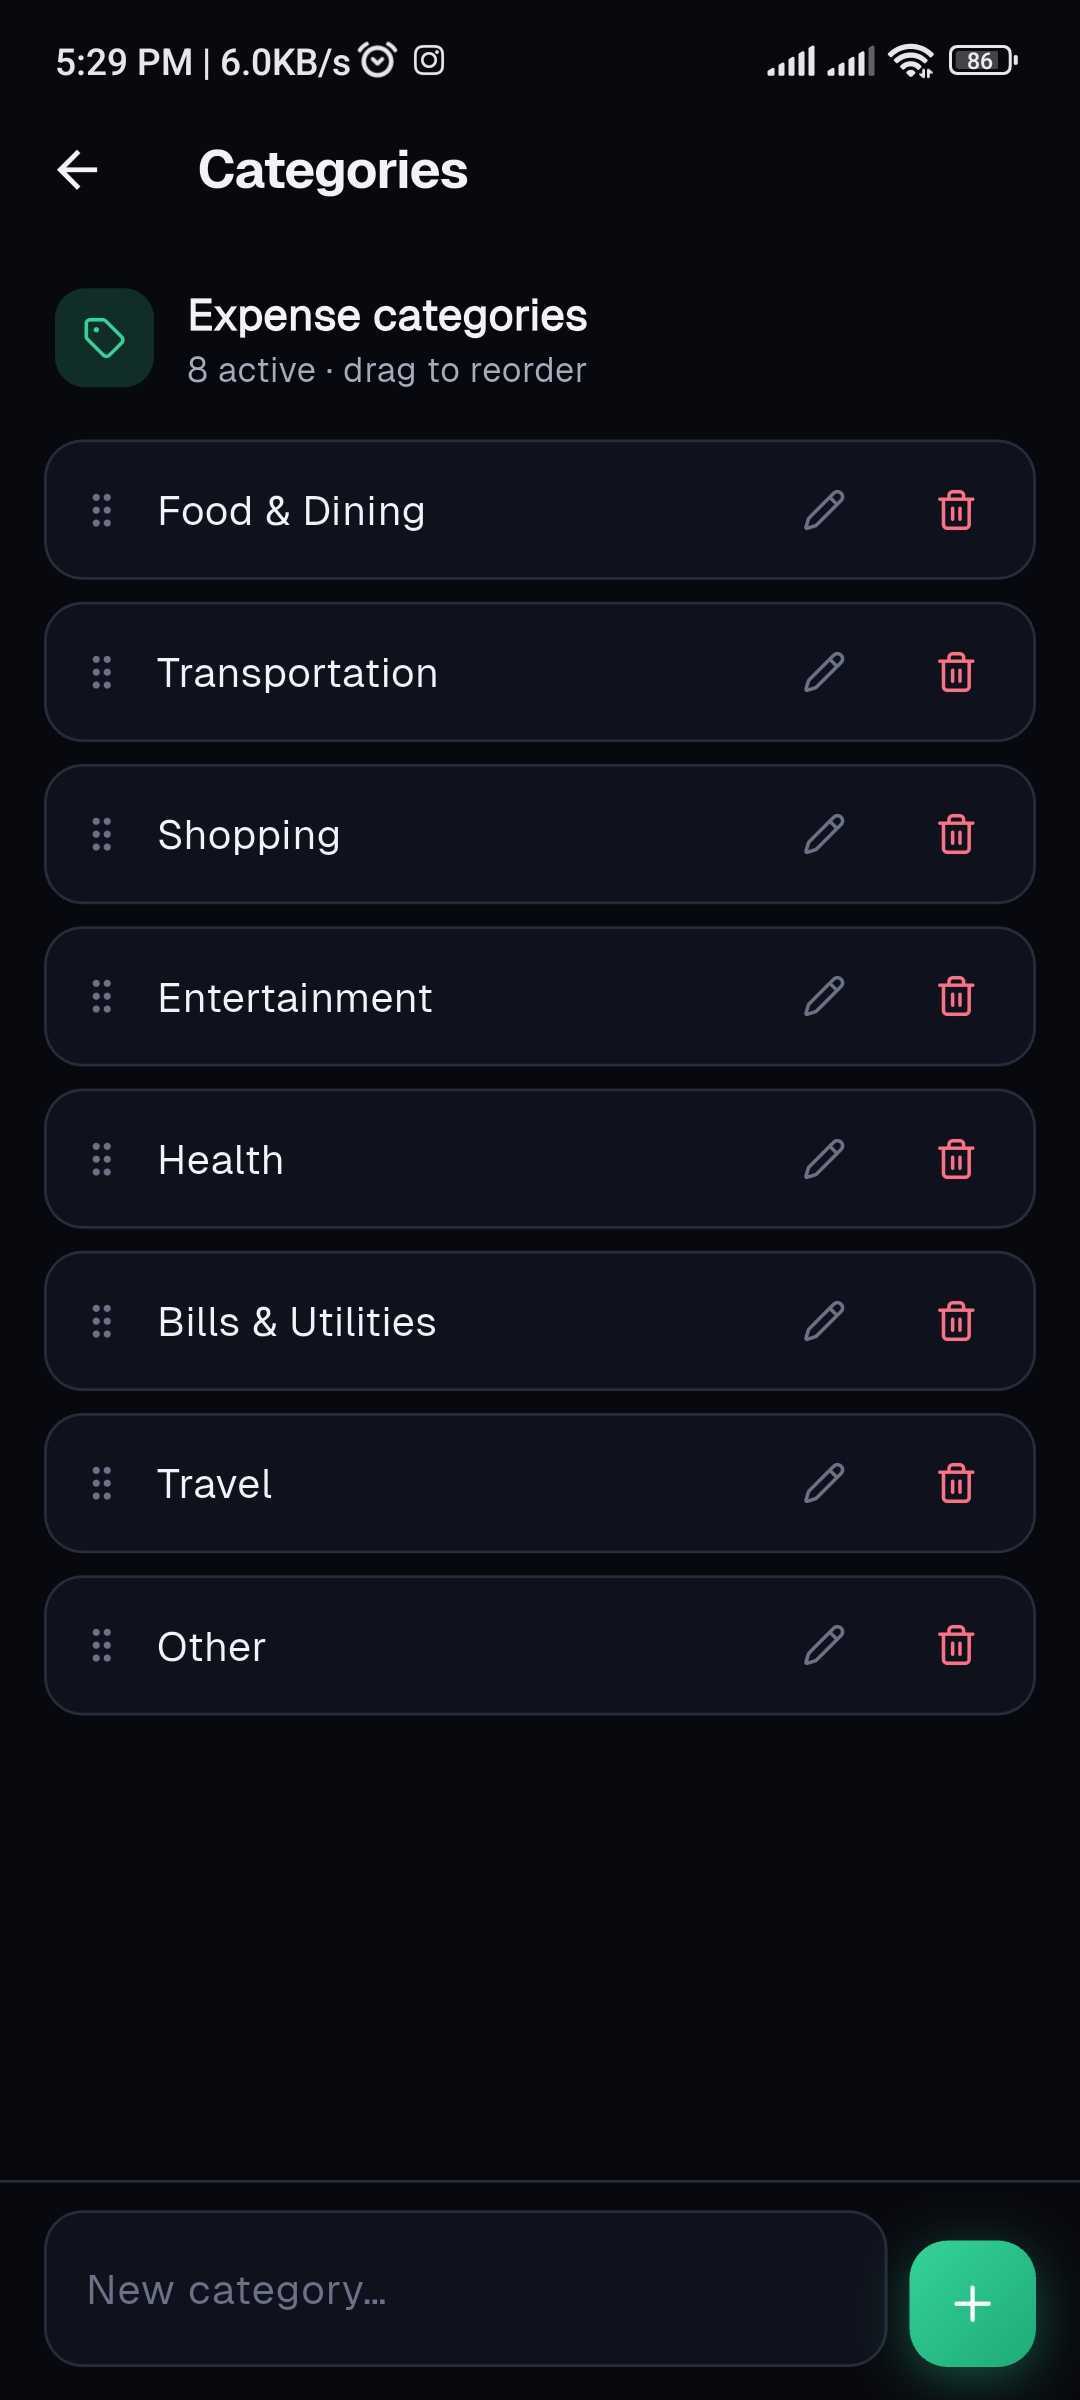
Every expense belongs to one category. Tapsayve ships with eight default expense categories:
- Food & Dining
- Transportation
- Shopping
- Entertainment
- Health
- Bills & Utilities
- Travel
- Other
Income entries use a separate fixed set, Salary, Freelance, Refund, Gift, Investment, and Other Income.
Automatic categorization
When you log by voice or receipt, the AI picks the best-fitting category for you from your current category list, so most expenses are categorized the moment they're created, with nothing to do.
Changing an expense's category
If a category isn't quite right, change it in a couple of taps:
- 1Open the expense from your ledger.
- 2Select a different category from the list.
- 3Save.
On web you can also select several transactions at once and re-categorize them together from the bulk action bar.
Managing categories
You can create your own expense categories on both platforms.
Mobile (fuller controls):
- 1Go to Settings → Categories.
- 2Add a new category, rename an existing one, reorder by dragging, delete (with undo), or restore the defaults.
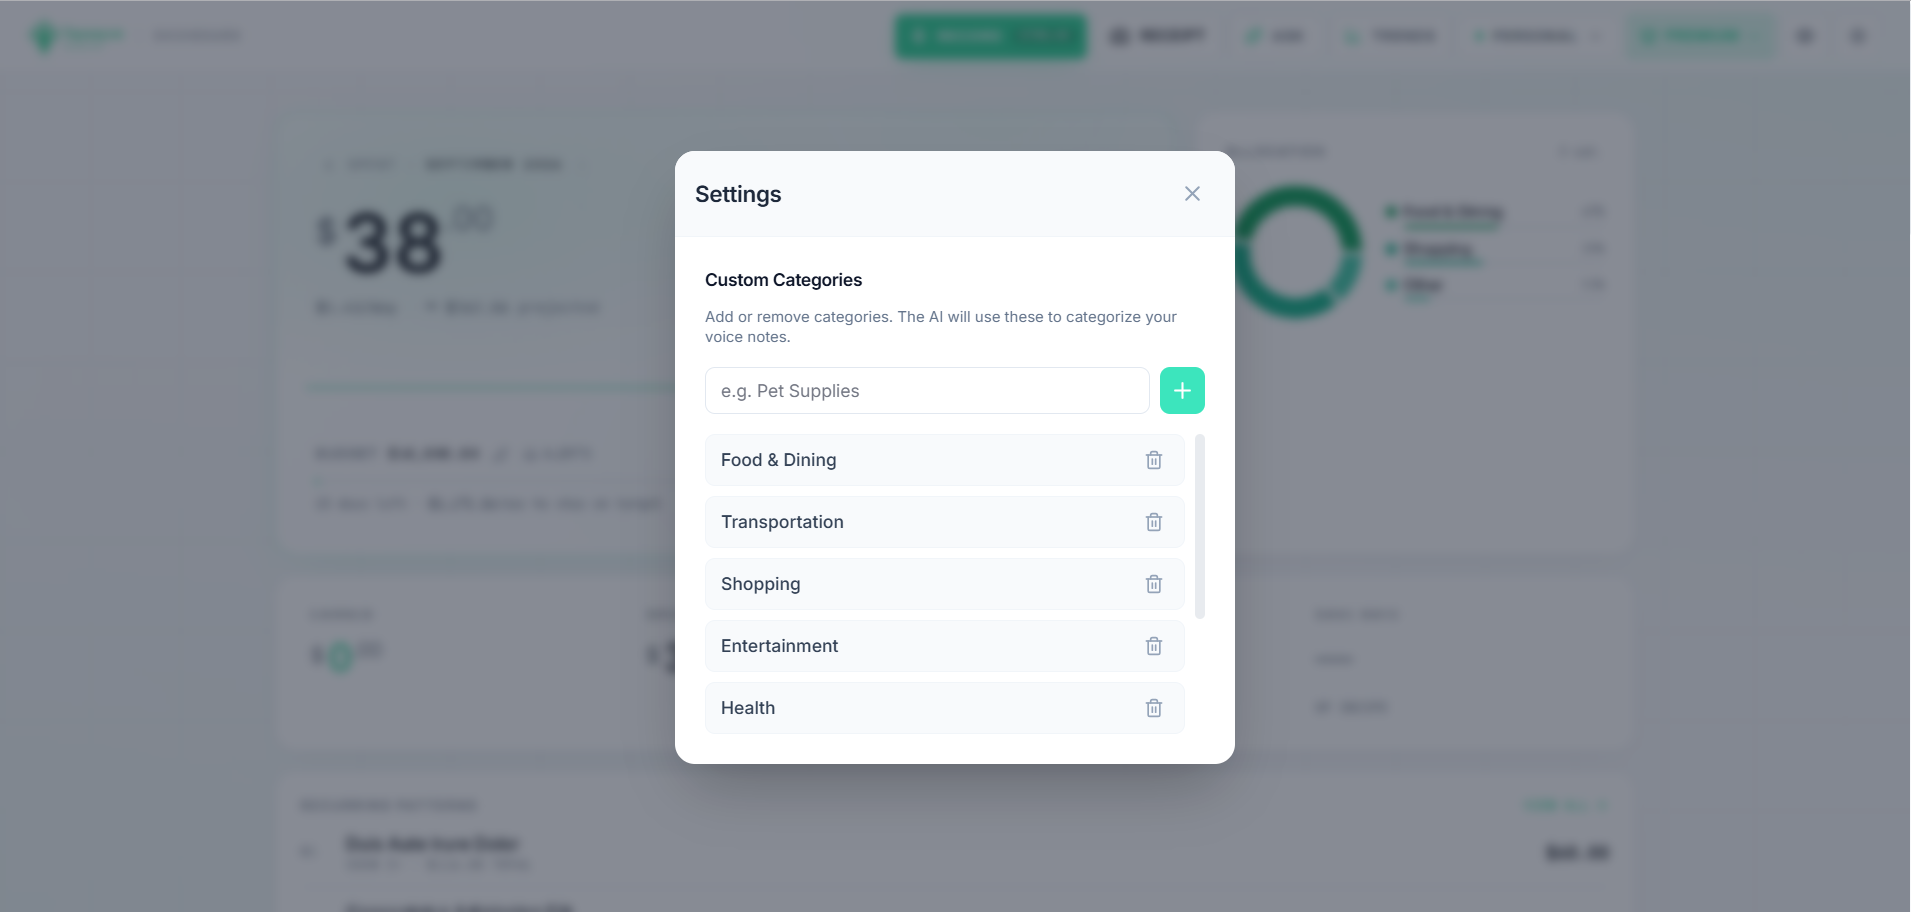
Web: open the Tools menu → Categories & settings, then add or remove categories.
- Changing categories doesn't re-sort existing transactions, they keep the category they already have.
- Custom categories are saved on the device you set them on, so your web and mobile category lists are managed separately.