
Expense Tracking
There are three ways to log an expense in Tapsayve, by voice, by receipt, or by hand. This section covers each method, plus editing, deleting, searching, and reviewing your history.
Adding an expense manually
Typing an expense is always available and never counts against any limit.
Mobile:
- 1On the home (Voice) screen, tap Add manually.
- 2Fill in the amount, description, category, date, and type (expense/income).
- 3Save. The entry appears in your Ledger.
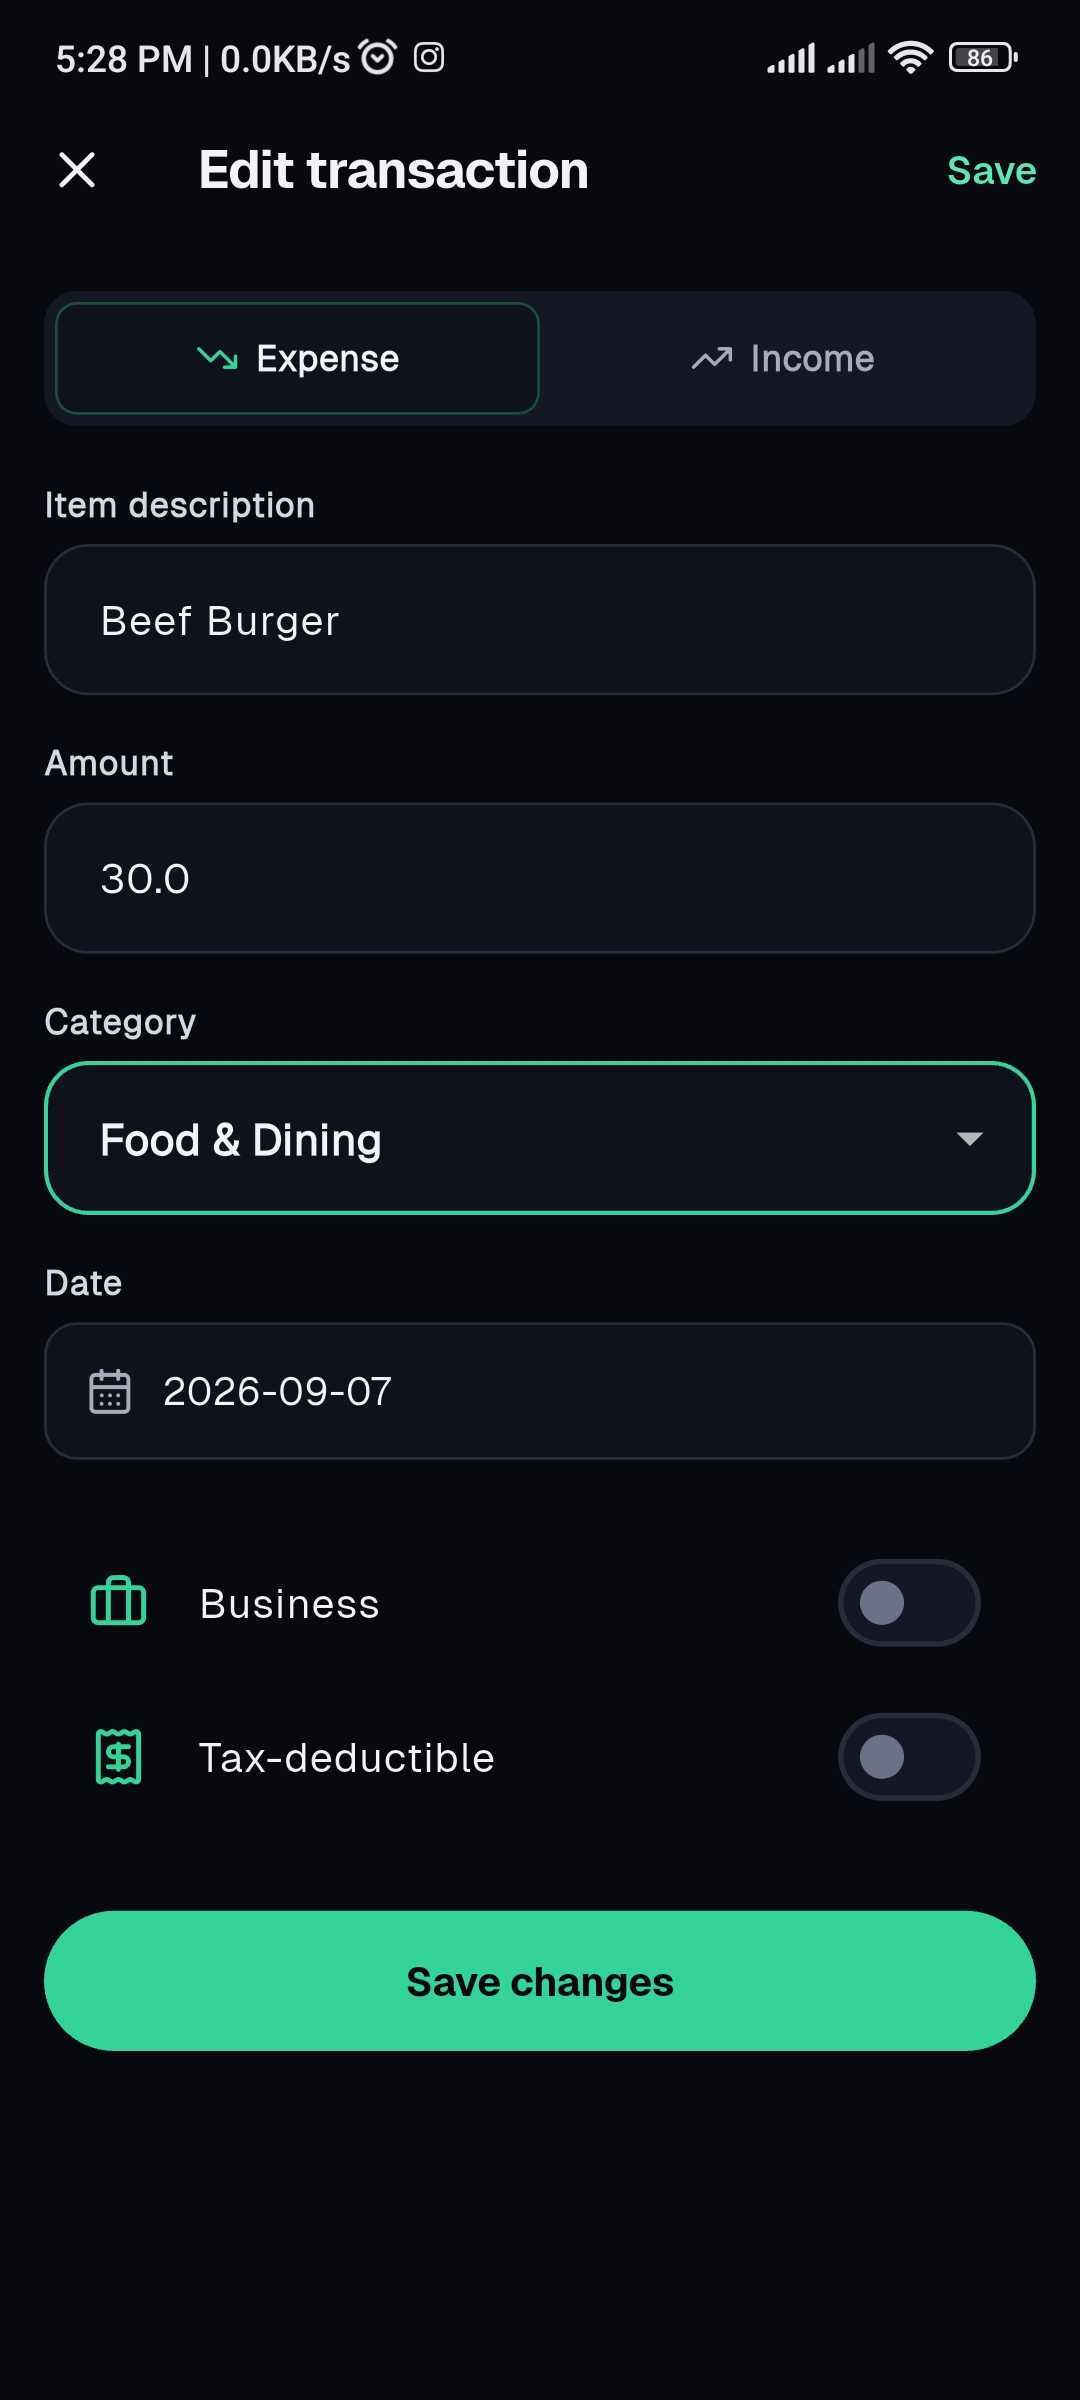
Web: open an expense from the list to edit it, or use Record / receipt upload to add new ones. Every field can be adjusted after logging.
Adding an expense by voice
The fastest way to log, speak naturally and Tapsayve does the rest.
- 1Tap the microphone orb (mobile home) or Record in the web header (shortcut: Ctrl/Cmd + K).
- 2Say the expense, for example, “coffee three fifty” or “groceries 40 dollars at the market yesterday”.
- 3Tap again to stop. Tapsayve processes the audio.
- 4The expense appears in your ledger, already filled in with amount, category, date, and currency.
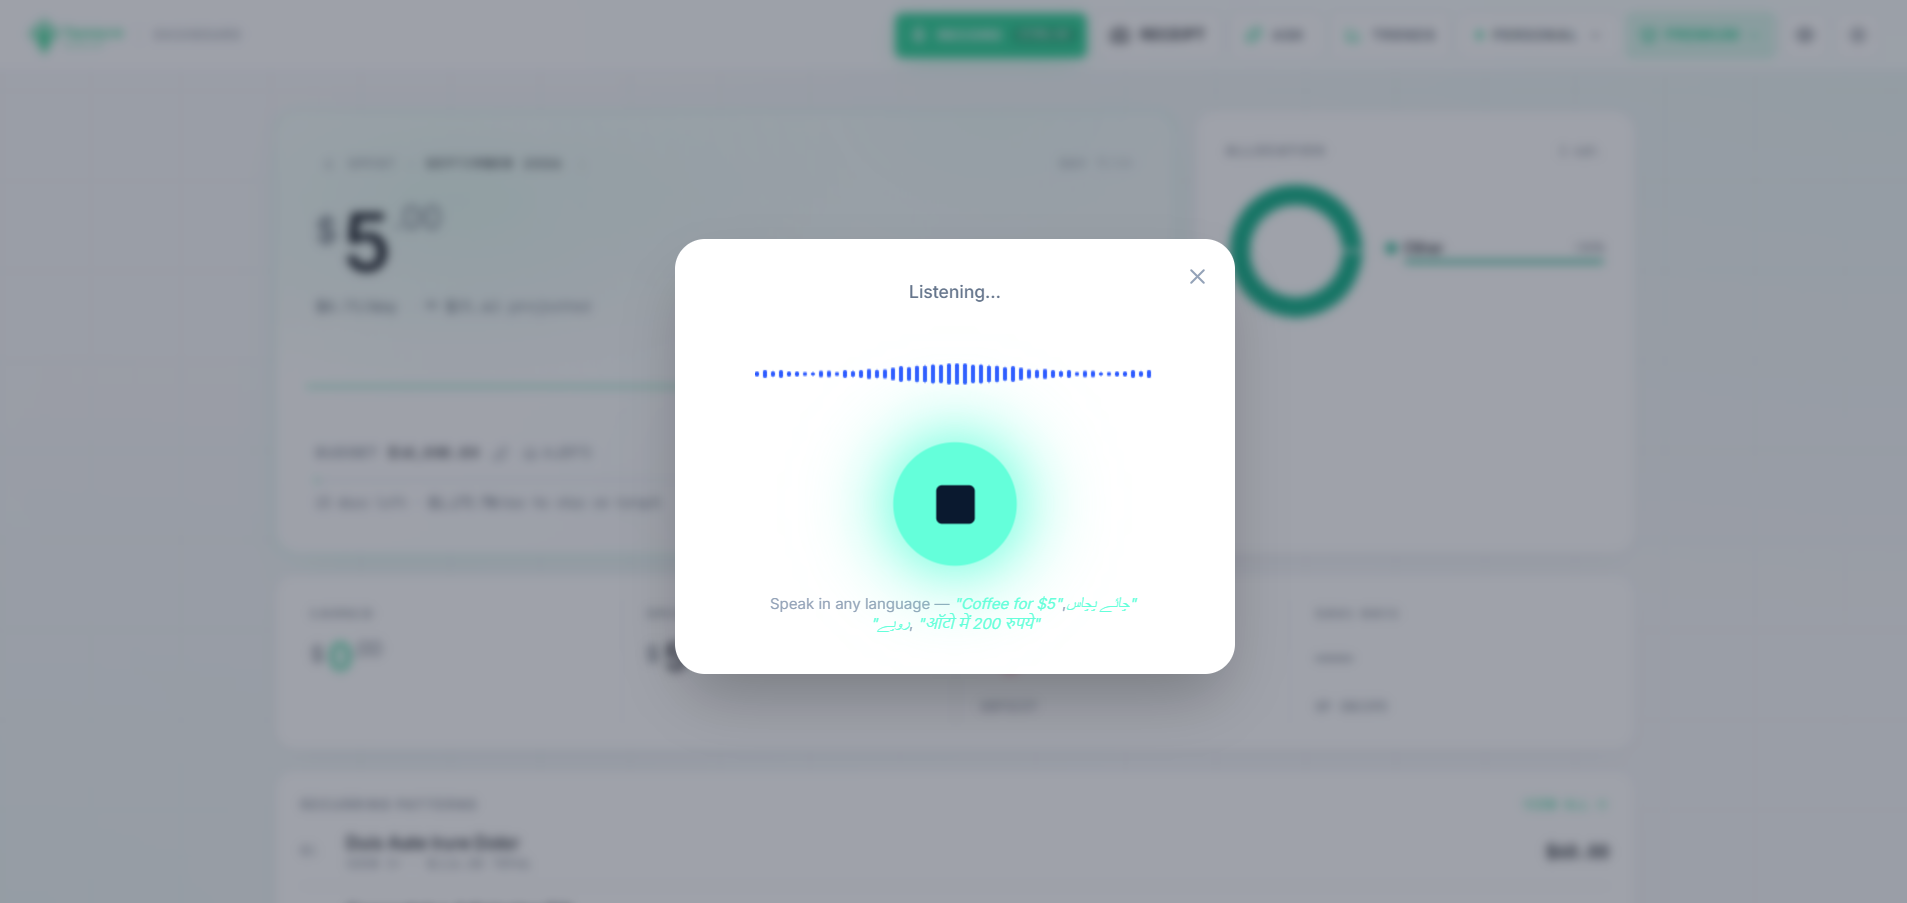
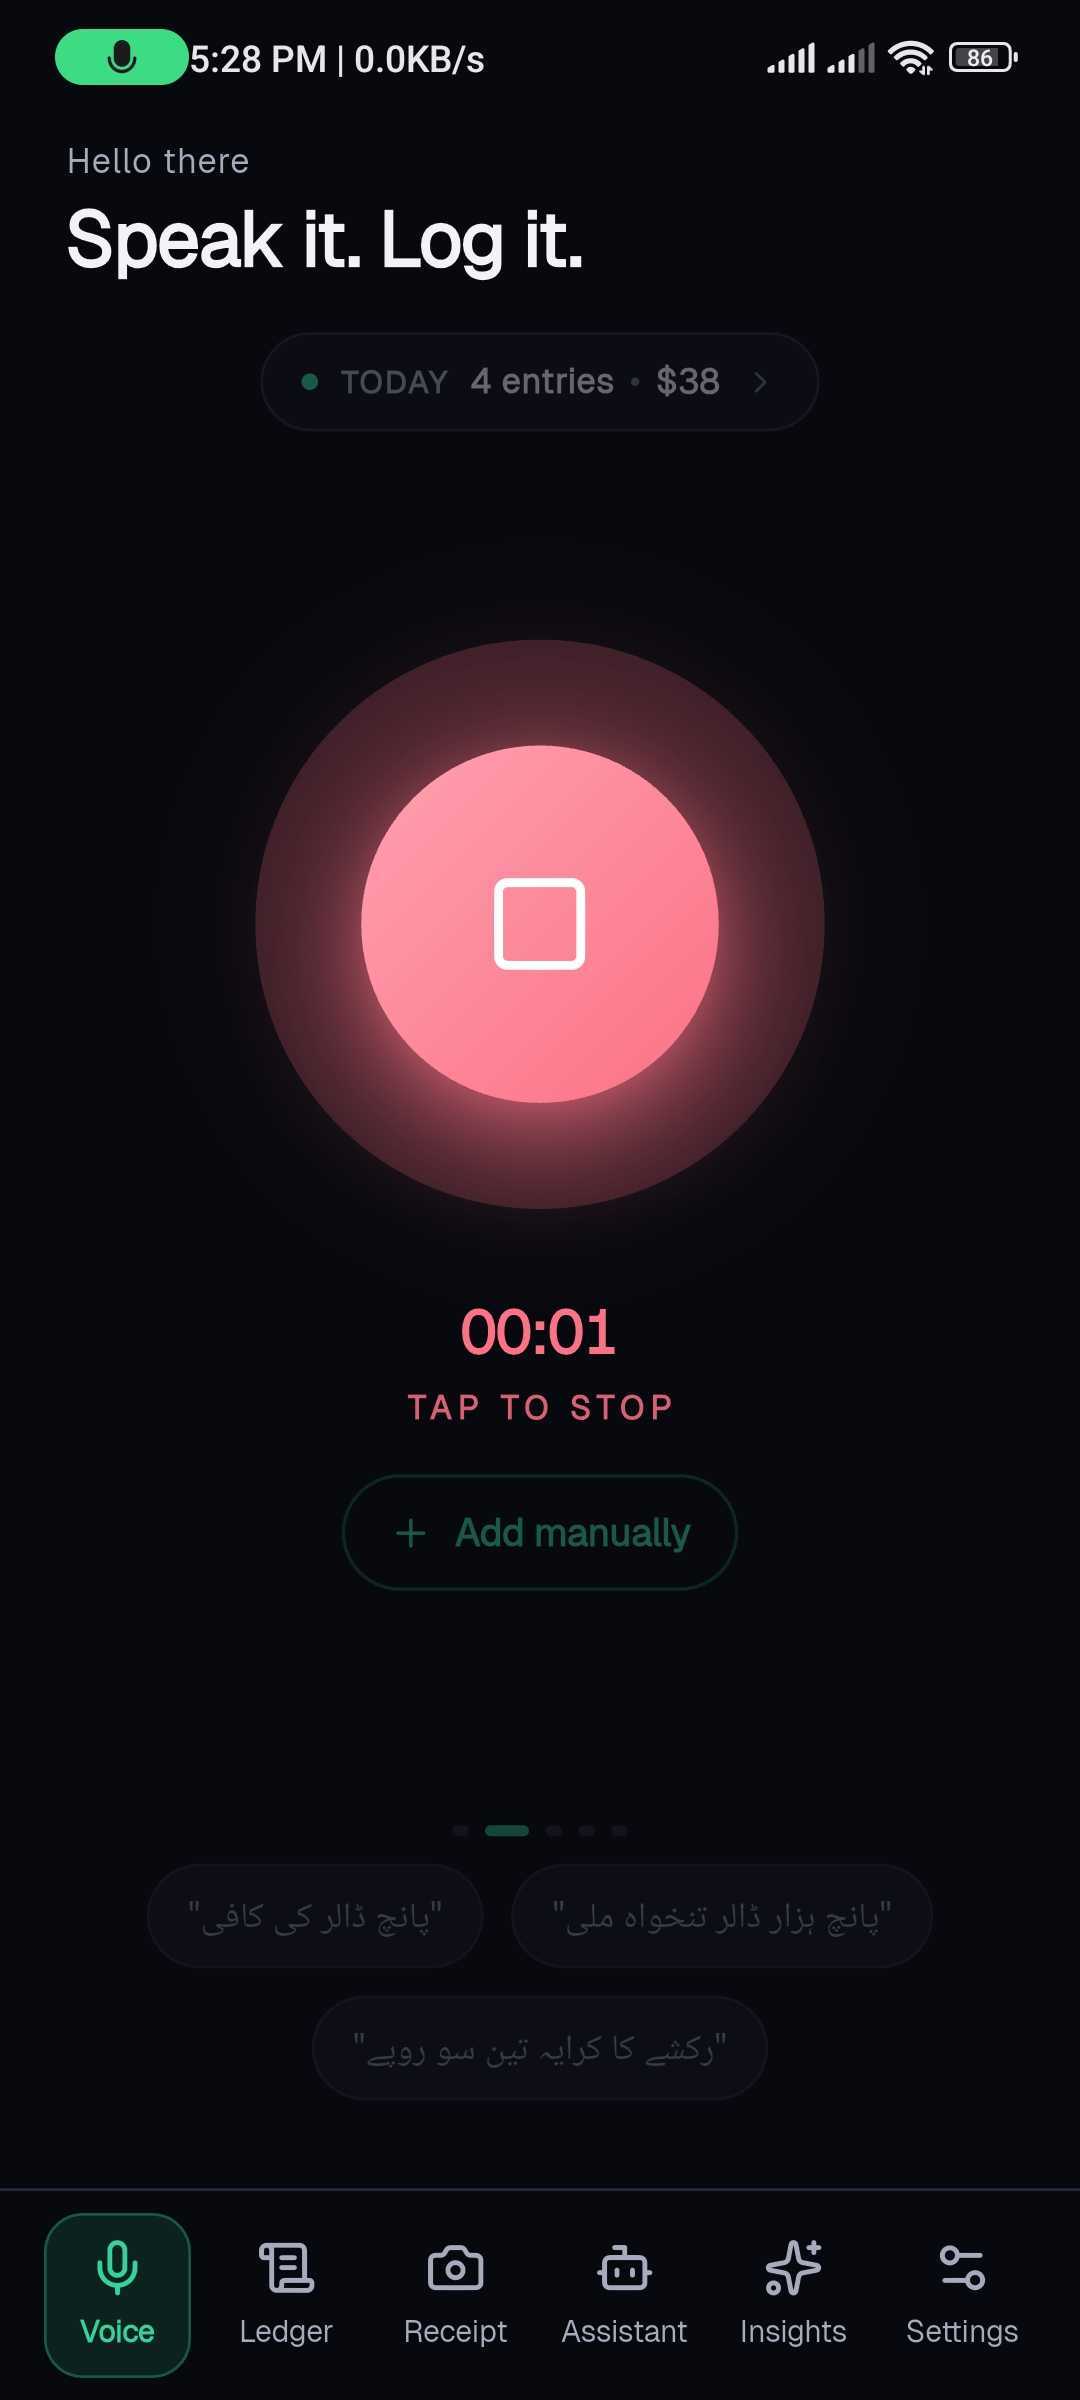
You can speak in any language; see How AI understands your voice.
How AI understands your voice
When you record, Tapsayve sends the audio to its AI (Google Gemini), which transcribes and understands it in a single step, there's no separate “convert to text” stage. From what you said, it extracts:
- Amount: even spoken numbers like “three fifty” or numbers in other languages are converted to digits.
- Description: a short item name, translated to English (brand names are kept).
- Category: the best fit from your category list.
- Type: expense or income, inferred from what you said.
- Date: “yesterday”, “on Monday”, or today by default.
- Currency: recognised from spoken currency words, otherwise your default currency.
Scanning a receipt
- 1Tap the receipt / camera button, the Receipt tab (mobile bottom bar) or the receipt button in the web header. On web you can also drag-and-drop an image onto the dashboard.
- 2Take a photo of the receipt, or pick one from your library.
- 3Tapsayve reads it and adds the expense(s) to your ledger. The original photo is saved to the entry.
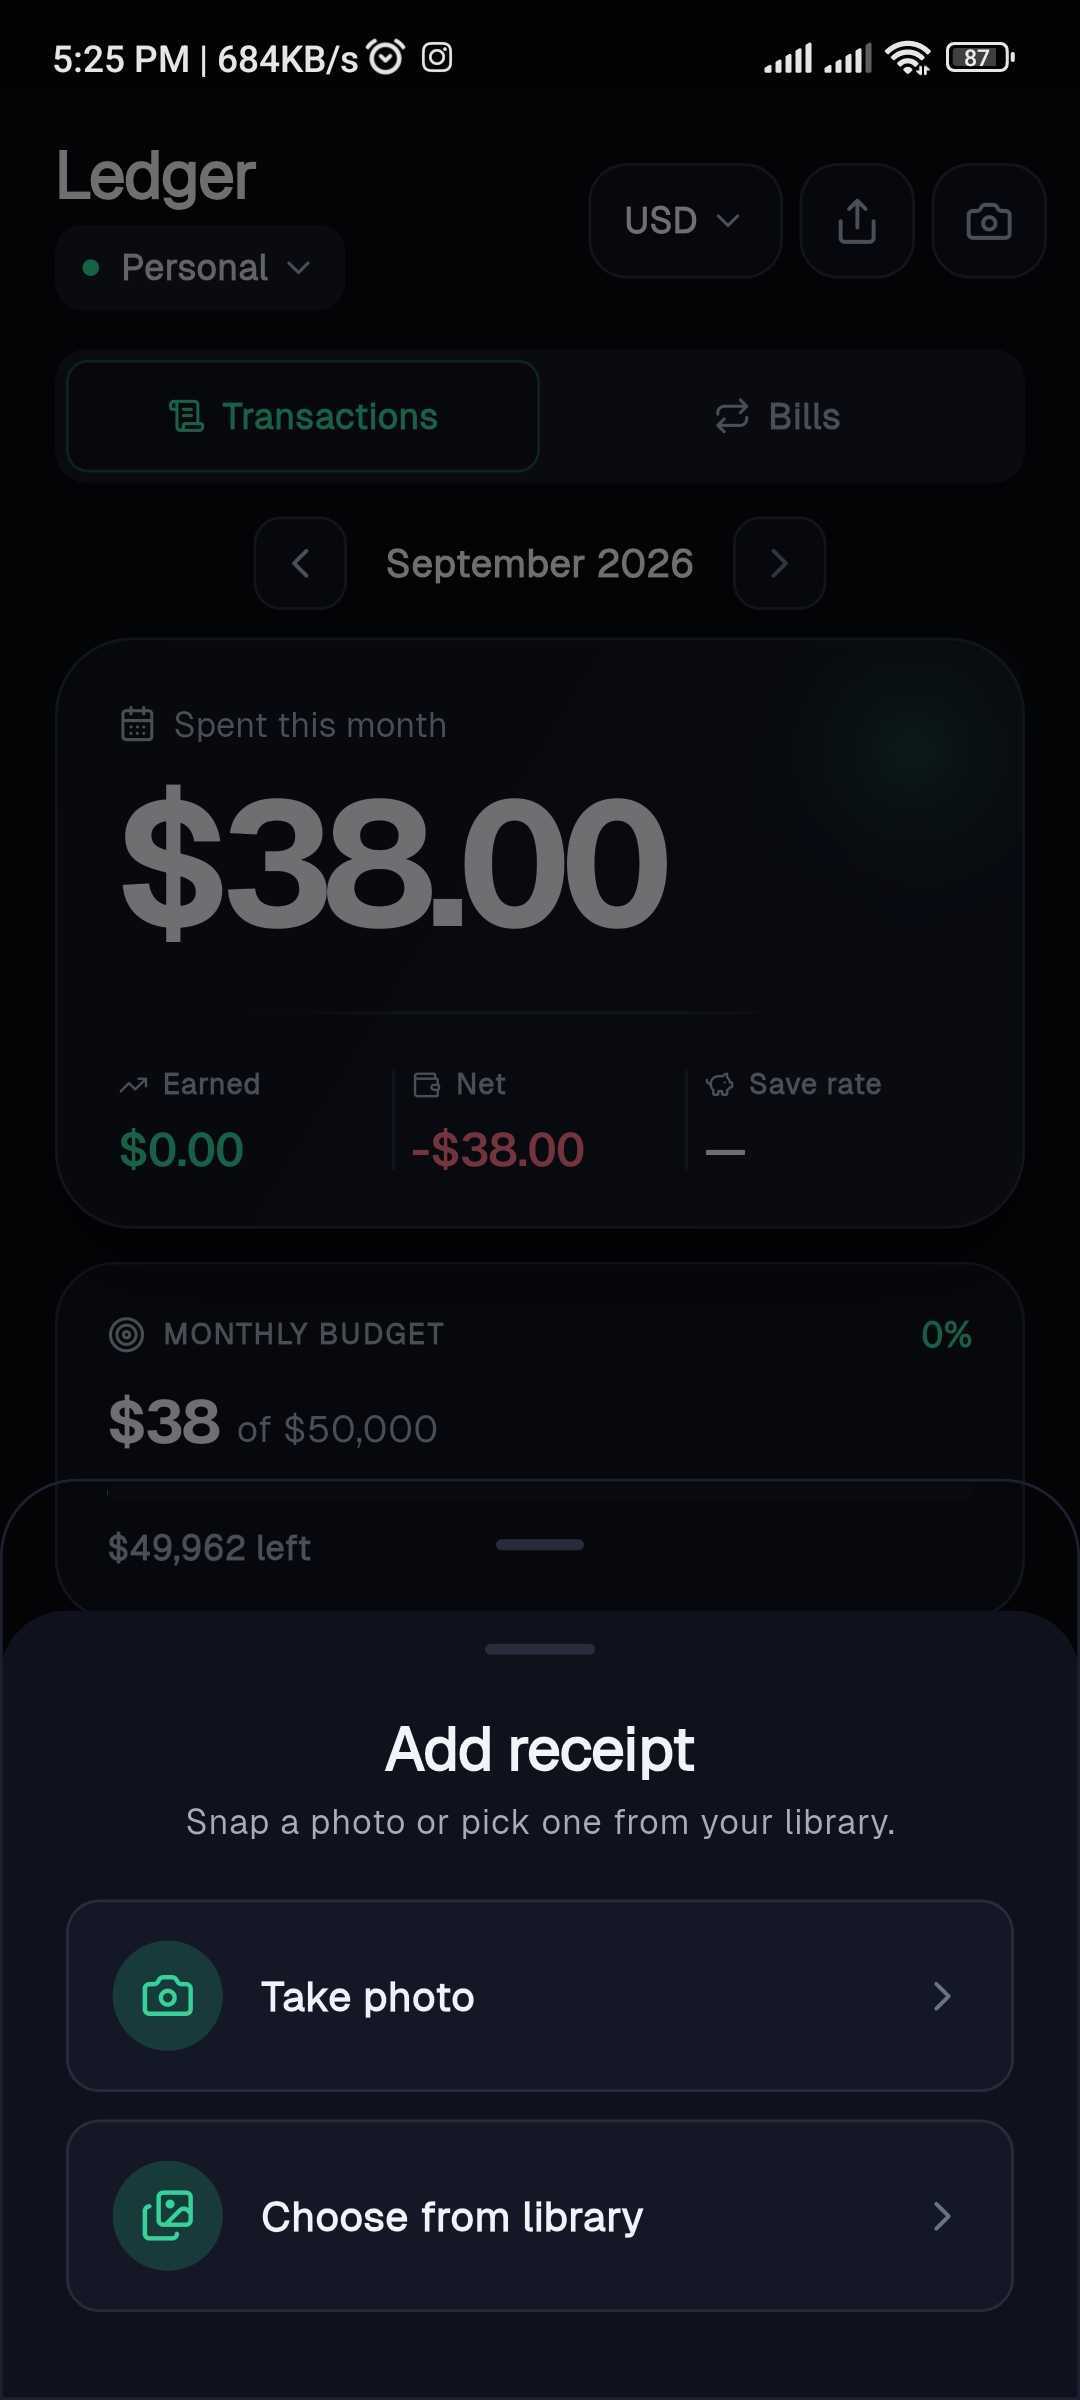
How AI reads receipts
A receipt photo goes through the same AI as voice. It reads the image and pulls out the merchant / item, total amount, date, and currency, then suggests a category. It can also flag whether an expense looks like a business cost or is likely tax-deductible, which powers the tax export.
The original receipt photo is stored securely with the expense so you can view it later; see Receipt storage.
Editing an expense
AI does its best, but you're always in control. To fix any detail:
- 1Find the expense in your ledger / transaction list.
- 2Tap it (mobile) or select it to open (web).
- 3Change the amount, description, category, date, type, or currency.
- 4Save your changes.
Deleting an expense
- Mobile: swipe the transaction card, or open it and choose delete.
- Web: use the delete control on the transaction row, or select several rows and delete them together from the bulk action bar.
Viewing expense history
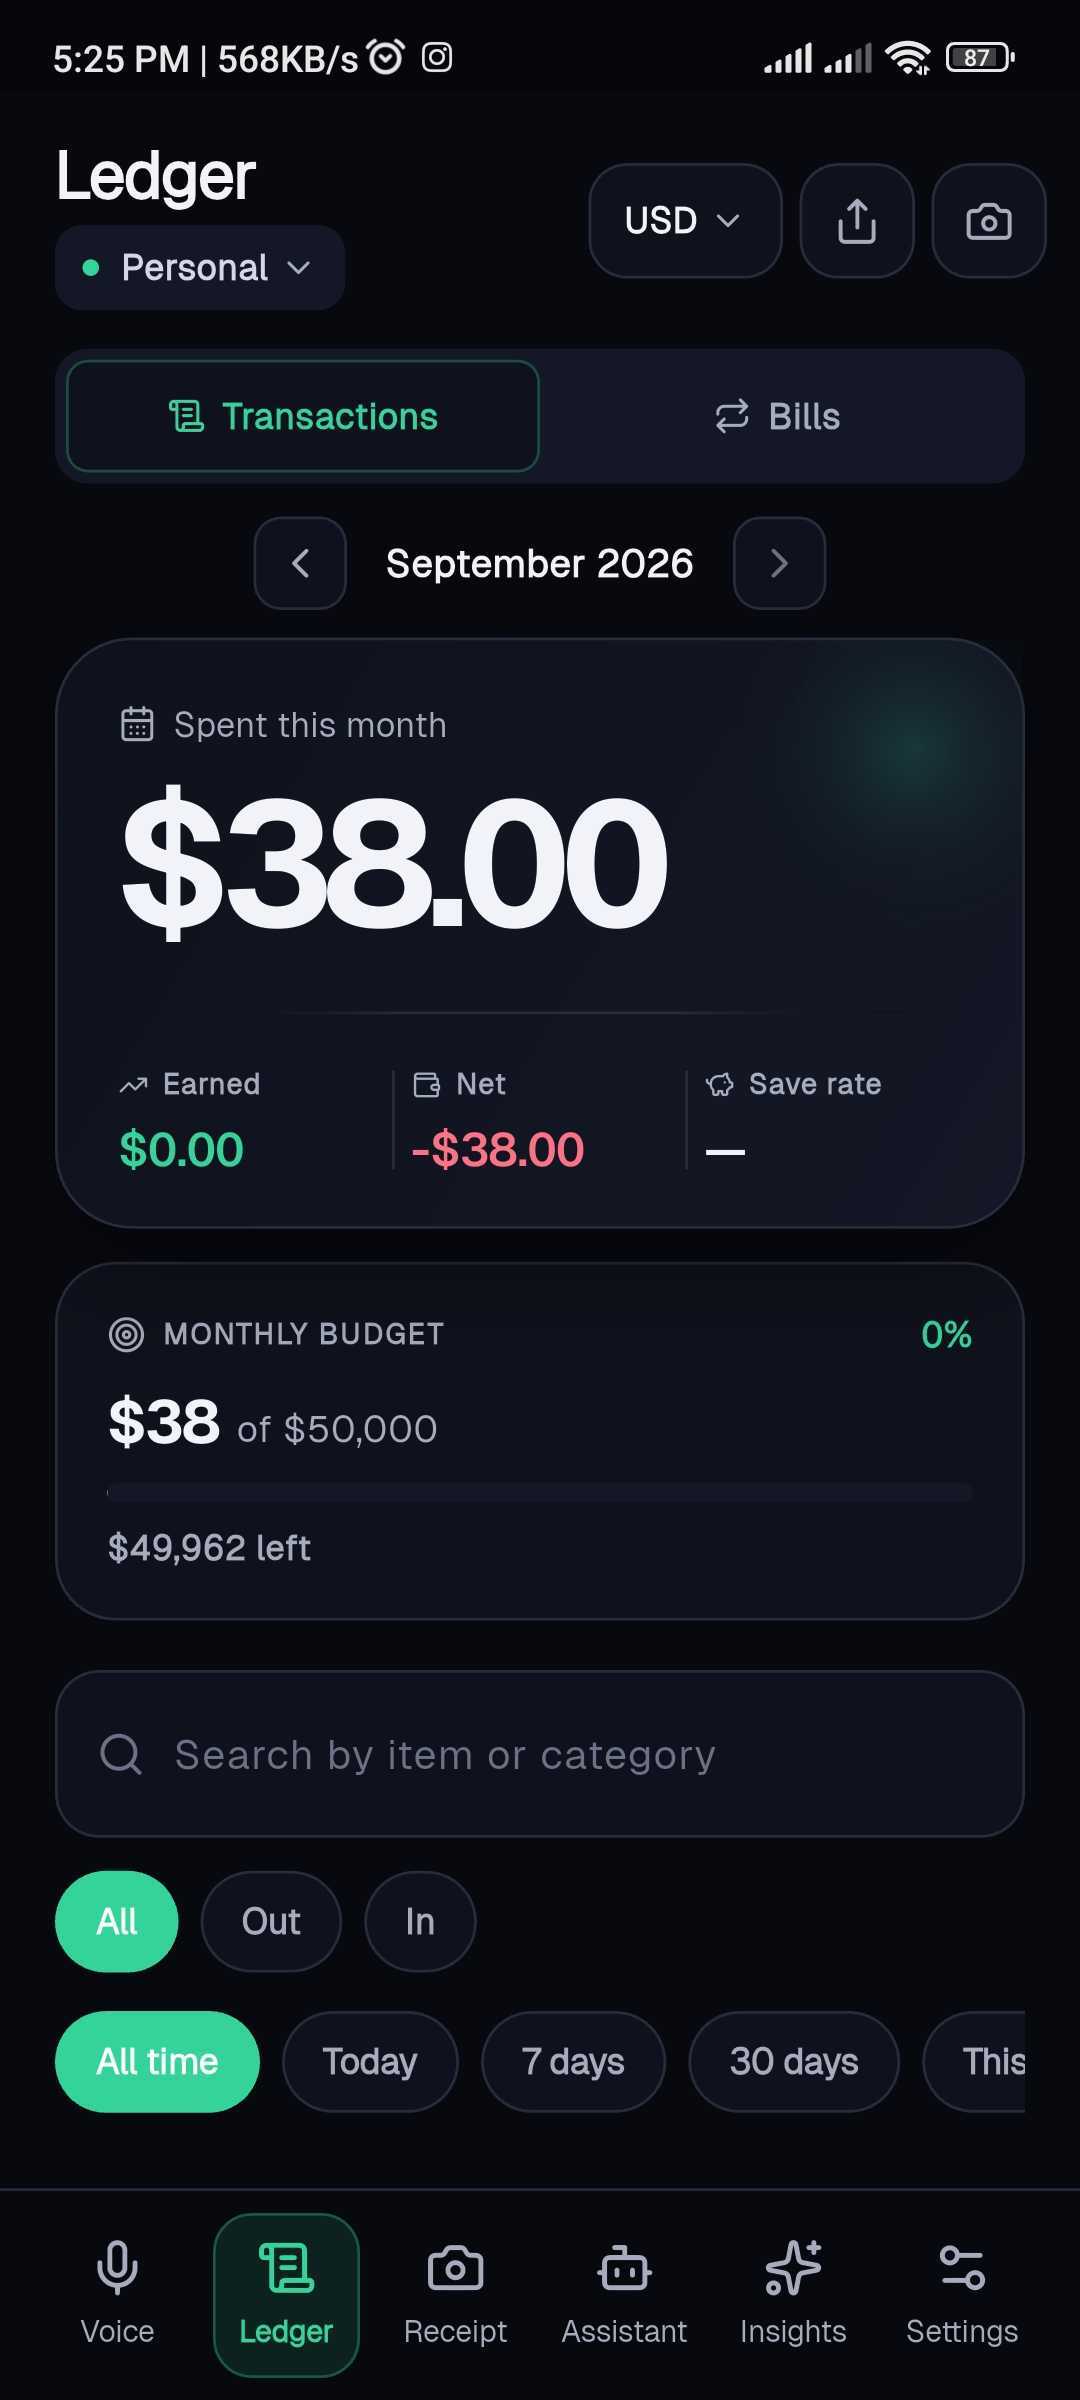
Your full history lives in the Ledger (mobile) and the transactions list/table (web), grouped by date.
- Use the month navigation (‹ ›) to move to previous months. You can't navigate into the future.
- On web desktop you get a sortable table (by date, item, category, or amount); on mobile and narrow screens you get a card list.
- Long lists load in pages, select Load more to see older entries.
Searching and filtering expenses
Narrow down your transactions using the bar above the list:
- Search: type to match an item name or category.
- Type filter: All, Spent (expenses), or Earned (income).
- Date filter: quick ranges to focus on a period.